前言:
Jupyter Notebook(此前被称为 IPython notebook)是一个交互式笔记本,支持运行 40 多种编程语言。
Jupyter Notebook 的本质是一个 Web 应用程序,便于创建和共享文学化程序文档,支持实时代码,数学方程,可视化和 markdown。 用途包括:数据清理和转换,数值模拟,统计建模,机器学习等等。
安装:
这里采用的helm安装方法加配合rancher,之所以利用rancher时比较方便,进入容器和进入命令行界面都很方便,操作也简单,可以同时管理多个k8s集群,采用helm安装是hub类似于一个小集群,里面有代理,有用户空间,hub服务等。
安装helm:(我这里采用的是3.2.4之所以采用3的版本是因为他不需要tiller)k8s-master节点
wget https://get.helm.sh/helm-v3.2.4-linux-amd64.tar.gz
tar -zxvf helm-v3.2.4-linux-amd64.tar.gz
cp linux-amd64/helm /usr/local/bin/
验证安装
$ helm version
version.BuildInfo{Version:"v3.2.4", GitCommit:"0ad800ef43d3b826f31a5ad8dfbb4fe05d143688", GitTreeState:"clean", GoVersion:"go1.13.12"}  #出现这个代表helm安装完成
$ helm env
添加仓库
$ helm repo add stable http://mirror.azure.cn/kubernetes/charts/
同步最新charts信息到本地
$ helm repo update
安装hub:
openssl rand -hex 32 #用户proxy通信
配置文件(手动创建config.yaml):
proxy:
  secretToken: "上方生成"
添加hub源:
helm repo add jupyterhub https://jupyterhub.github.io/helm-chart/
helm repo update

#出现下方提示代表更新成功
Hang tight while we grab the latest from your chart repositories...
...Successfully got an update from the "sqlfiddle" chart repository
...Successfully got an update from the "jupyterhub" chart repository
...Successfully got an update from the "emberstack" chart repository
Update Complete. ⎈ Happy Helming!⎈
创建jhub.sh:
# Suggested values: advanced users of Kubernetes and Helm should feel
# free to use different values.
RELEASE=jhub
NAMESPACE=jhub  #空间

helm upgrade --install $RELEASE jupyterhub/jupyterhub \  #安装
  --namespace $NAMESPACE  \ #空间
  --version=0.9.0 \  #版本
  --values config.yaml  #指定配置文件proxy
创建空间:
kubectl create ns jhub
遇到问题:
kubectl describe pod
默认拉去的国外源(不翻墙pull不下来):
docker pull gcr.io/google_containers/kube-scheduler-amd64:v1.13.12
docker pull gcr.io/google_containers/pause:3.1
解决办法:
docker pull registry.aliyuncs.com/google_containers/kube-scheduler-amd64:v1.13.12  #国内pull下来打tag为gcr.io/google_containers/kube-scheduler-amd64:v1.13.12

docker pull registry.aliyuncs.com/google_containers/pause:3.1  gcr.io/google_containers/pause:3.1
结果pod:
结果svc:
默认代理为lb需要改成nodeport:
kubectl edit svc proxy-public -n jhub
结果:
![BT9_}WSK[9I[N{1KW2L]MNO.png][3]
结果web:11~VGO$_0Q.png")
问题:
除了上方pull镜像问题还会有hub起不来的现象,这是因为数据卷configmapEJE[8ZQM1E@)R{BZ[UWPY.png")
创建configmap名字一定不能变因为yaml中找的就是这个名字,具体为什么我们不去改变yaml是因为yaml传的是变量,这个我后期会修改,现在站定这个方法./application/jq为我们持久化到本机的目录,当服务启动后会在这个目录中生成 jupyterhub_cookie_secret jupyterhub.sqlite
接下来配置动态供给class pv pvc因为hub最多用户空间时时采用不同pod之间隔离来实现多用户空间,在登陆的时候会
![R0QI2A_O]P%RTMN4MBRNV25.png][6]
这会提示你找pv但是如果不通过class那么每次管理源都需要手动创建pv,所以这里采用class
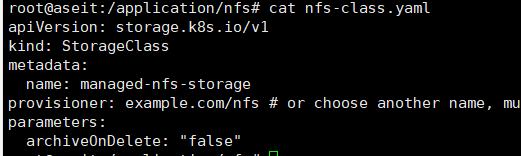
nfs-class.yaml:
![{{]__T%C5Z4){~40LL$H_O.png
apiVersion: storage.k8s.io/v1
kind: StorageClass
metadata:
  name: managed-nfs-storage
provisioner: example.com/nfs # or choose another name, must match deployment's env PROVISIONER_NAME'
parameters:
  archiveOnDelete: "false"
nfs-deploy.yaml:
![]DB8$HQ`W){4ZN%@QF}ZJO0.png][8]
apiVersion: apps/v1
kind: Deployment
metadata:
  name: nfs-client-provisioner
  labels:
    app: nfs-client-provisioner
  # replace with namespace where provisioner is deployed
  namespace: jhub
spec:
  replicas: 1
  strategy:
    type: Recreate
  selector:
    matchLabels:
      app: nfs-client-provisioner
  template:
    metadata:
      labels:
        app: nfs-client-provisioner
    spec:
      serviceAccountName: nfs-client-provisioner
      containers:
        - name: nfs-client-provisioner
          image: quay.io/external_storage/nfs-client-provisioner:latest
          volumeMounts:
            - name: nfs-client-root
              mountPath: /persistentvolumes
          env:
            - name: PROVISIONER_NAME
              value: example.com/nfs
            - name: NFS_SERVER
              value: 10.100.2.22  #nfs地址
            - name: NFS_PATH
              value: /testshare  #nfs路径
      volumes:
        - name: nfs-client-root
          nfs:
            server: 10.100.2.22 #nfs地址
            path: /testshare #nfs路径
nfs-rbac.yaml:
apiVersion: v1
kind: ServiceAccount
metadata:
  name: nfs-client-provisioner
  # replace with namespace where provisioner is deployed
  namespace: jhub
---
kind: ClusterRole
apiVersion: rbac.authorization.k8s.io/v1
metadata:
  name: nfs-client-provisioner-runner
rules:
  - apiGroups: [""]
    resources: ["persistentvolumes"]
    verbs: ["get", "list", "watch", "create", "delete"]
  - apiGroups: [""]
    resources: ["persistentvolumeclaims"]
    verbs: ["get", "list", "watch", "update"]
  - apiGroups: ["storage.k8s.io"]
    resources: ["storageclasses"]
    verbs: ["get", "list", "watch"]
  - apiGroups: [""]
    resources: ["events"]
    verbs: ["create", "update", "patch"]
---
kind: ClusterRoleBinding
apiVersion: rbac.authorization.k8s.io/v1
metadata:
  name: run-nfs-client-provisioner
subjects:
  - kind: ServiceAccount
    name: nfs-client-provisioner
    # replace with namespace where provisioner is deployed
    namespace: jhub
roleRef:
  kind: ClusterRole
  name: nfs-client-provisioner-runner
  apiGroup: rbac.authorization.k8s.io
---
kind: Role
apiVersion: rbac.authorization.k8s.io/v1
metadata:
  name: leader-locking-nfs-client-provisioner
  # replace with namespace where provisioner is deployed
  namespace: jhub
rules:
  - apiGroups: [""]
    resources: ["endpoints"]
    verbs: ["get", "list", "watch", "create", "update", "patch"]
---
kind: RoleBinding
apiVersion: rbac.authorization.k8s.io/v1
metadata:
  name: leader-locking-nfs-client-provisioner
  # replace with namespace where provisioner is deployed
  namespace: jhub
subjects:
  - kind: ServiceAccount
    name: nfs-client-provisioner
    # replace with namespace where provisioner is deployed
    namespace: jhub
roleRef:
  kind: Role
  name: leader-locking-nfs-client-provisioner
  apiGroup: rbac.authorization.k8s.io
结果web:
多用户空间进行安装不同的ker:
需要通过conda去进行安装我这里需要支持c++ go python(pytorch等深度学习框架)
FROM jupyterhub/k8s-hub:0.9.0  #conda时一个交互式界面安装所以需要构建完镜像进入安装
COPY Miniconda3-latest-Linux-x86_64.sh /
CMD "/bin/bash" #此cmd在k8s中会被替换这里只是占时
安装完成在commit提交成新镜像,更改k8s 里的yaml进行重新部署
集成c++环境:
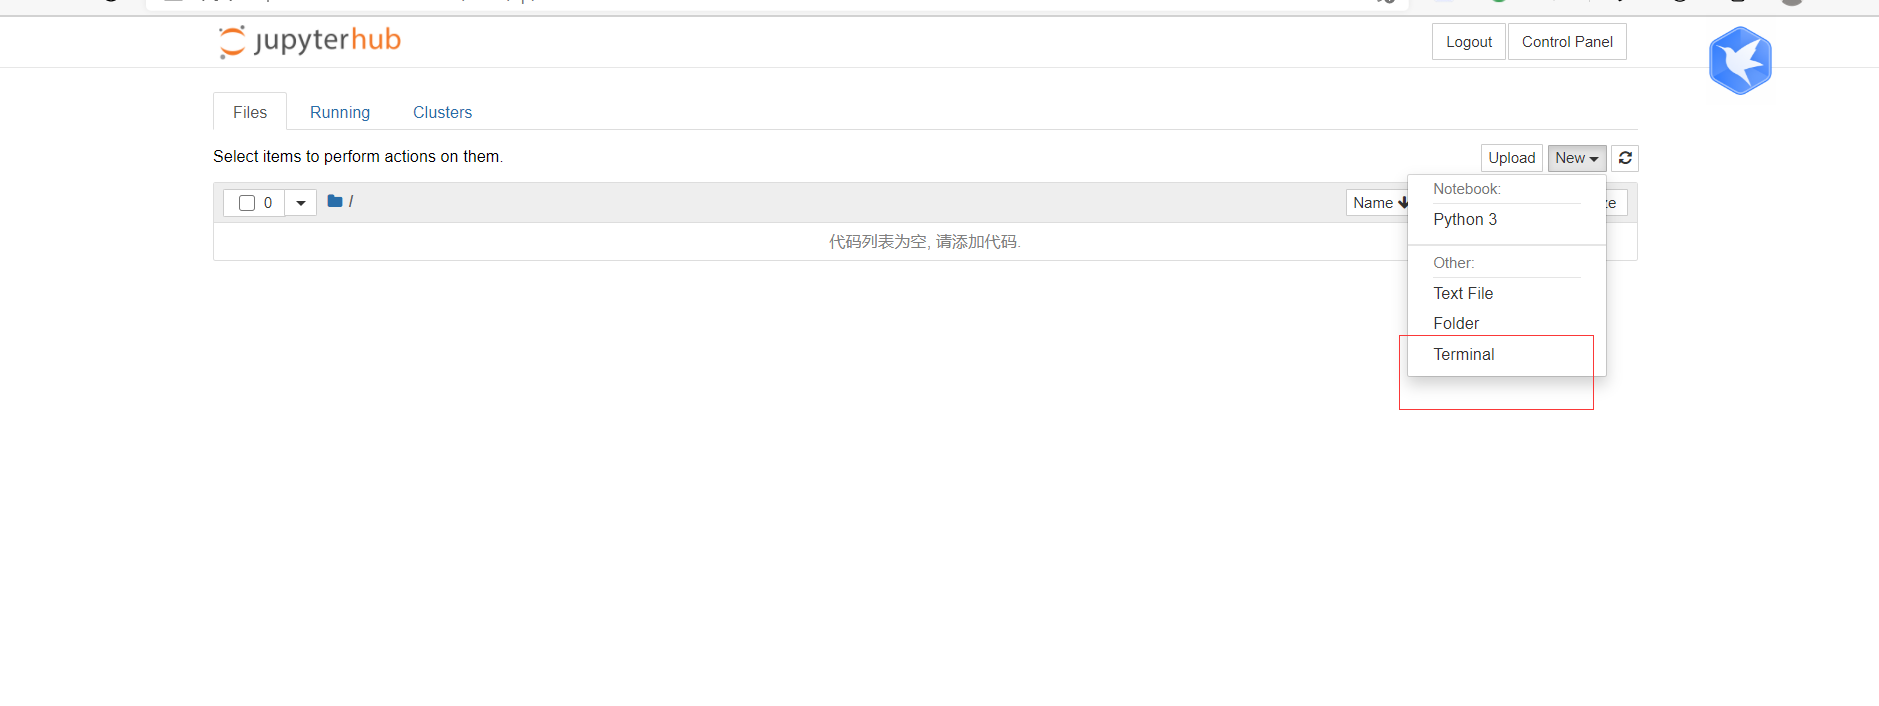
这里的操作我起初时在dockerfile中写入的但是我发现不管我写多少在web界面都是不生效的,这是因为hub他只人直接终端界面集成的东西,(这里至今无解)也就是说我们每个用户都有自己的独立空间,代码不能互相看到 连ker都不能互相看到
![VS$})J_PX{O@~UI]T6I6A3.png
这是hub提供的终端选项,进入会发现就是pv里面的目录,独立空间实际就是独立的目录.你的目录即为/
利用conda
conda install -c conda-forge xeus-cling
检查已安装的kernel
jupyter kernelspec list  #默认没有这个命令是python提供的需要pip安装

pip install -i https://pypi.tuna.tsinghua.edu.cn/simple jupyter
比如:
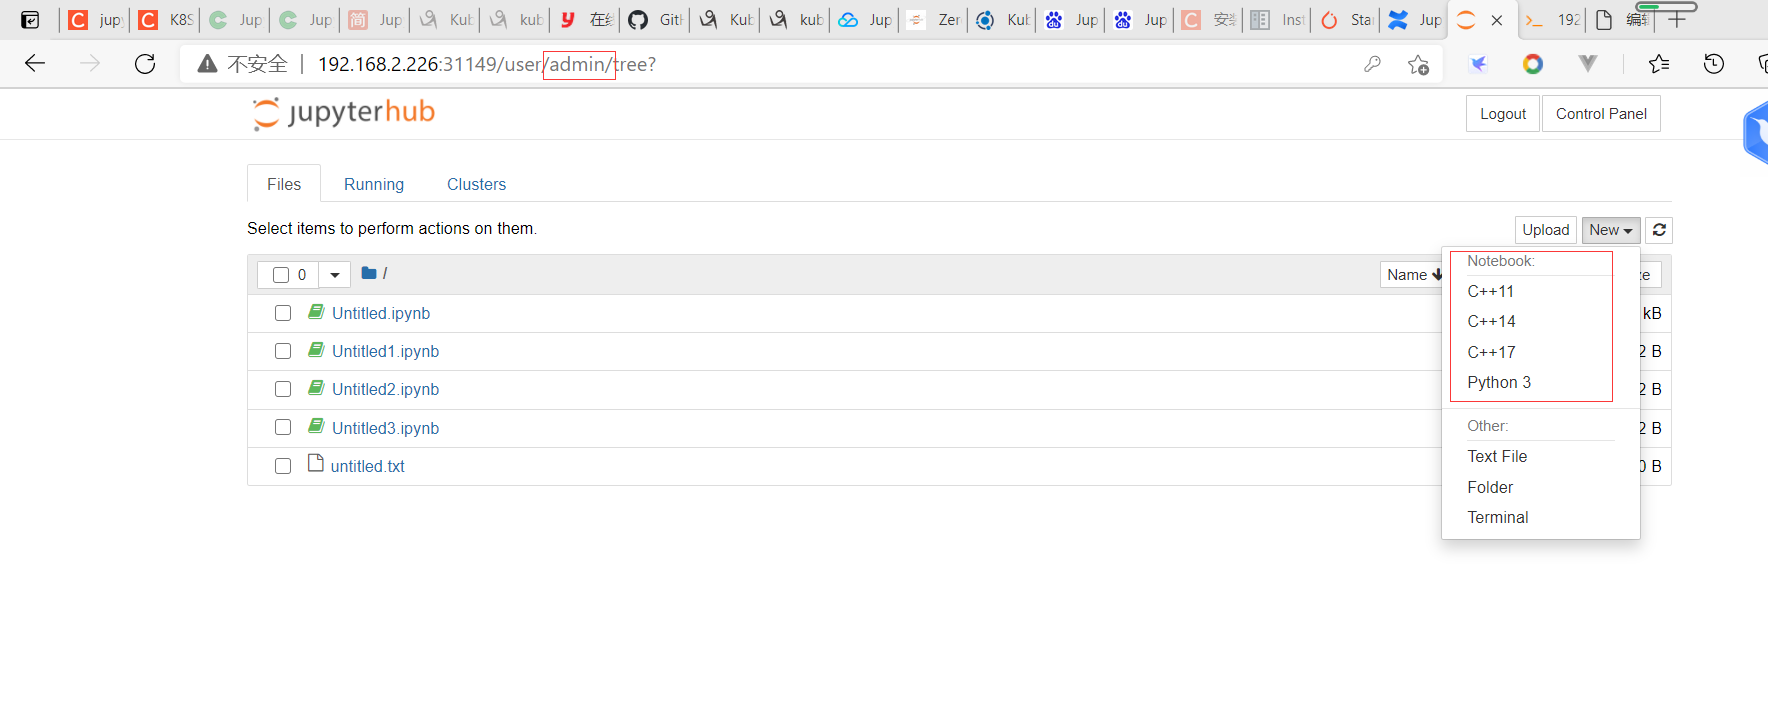
![ME00TFQG]GFRKH8_X9D3C17.png][10]
当前用户为user他只有默认的python3 nodebook,但是当我切换到admin用户
![}A]EY(0]$9LZO[YYPSEU.png
他就有c++环境
对应的pv:
到这里hub就结束了目前先写到集成c++ 后期我会写集成go(go需要go的环境)等学习框架,接入ldap统一管理,接入jenkins做CD
总结:
hub这是我第一次接触虽然这个过程很坎坷,但是我最终还是弄出来了,这也是一个人在接受新鲜事物的心里吧,不怕困难迎难而上,这样才会有收获,我的前一份工作也是做的gpu方面但是没有用到hub,通过部署这个hub 接触到了re接触到了多用户空间用重新了解了动态供给以前真的少用到.

